- For business / premises admins
- For staff / residents
- For visitors / guests
A. Creating your place
To use HodiApp, you need to add your business or premises details.
1. From the menu, click Places and click Create your place
2. Enter your place details. Once you submit, you will be ushered to your new Place.
3. You can add more details and edit existing details later by clicking the vertical menu on the top right and clicking on “Settings”
B. Users and locations
Users are people who reside or work in your place. If added to a location, users can also invite visitors to those locations.
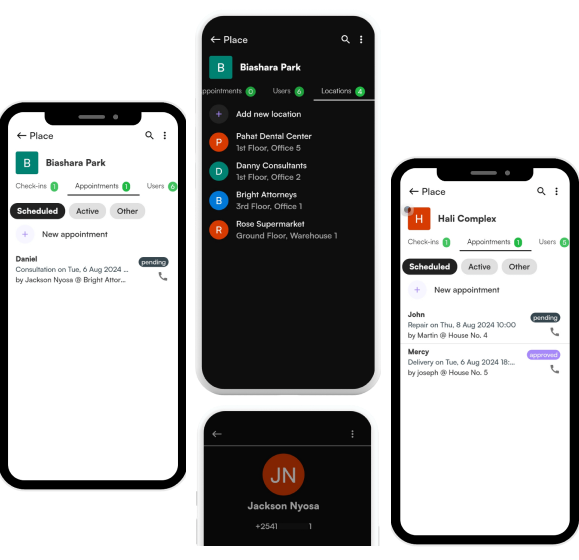
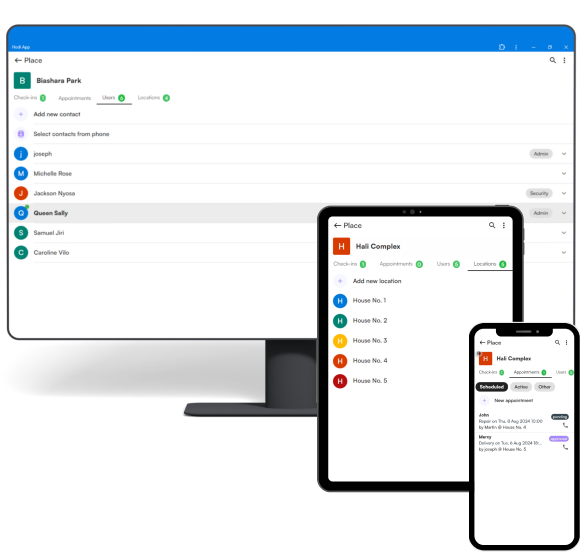
1. From your Place area, you will see tabs for Check-ins, Appointments, Users and Locations
2. Add your users (staff or residents) under Users tab. Select the appropriate permissions if the user is an admin or a security officer.
3. Add locations under Locations tab.
4. Once you create a location, you can add users to that location, which allows them to invite guests to that location
C. Appointments
If a user is added to a location, a security officer / admin can create an appointment on behalf of that user. Appointments are key when authorizing visitor access to your business or premises.
1. From appointments tab, click on New appointment
2. Enter the subject, host (must be a user who has been added to a location), guest and other details and save
3. The user will receive a prompt to approve the appointment
4. Once approved, the security officer / admin can use the appointment to authorize a check-in.
D. Check-ins
A check-in is a record which captures details about a visitor (personal details, vehicle etc) and itinerary (places to visit). To check-in a visitor, you can follow the steps below;
1. From the Check-ins tab, click “New check-in”
Proceed to create a new check-in, or select from the suggestions
2. From here, you can review / update the details, add itinerary etc. Once done, tap on “Authorize entry”. The check-in will now appear under “Active” check-ins
3. To check-out, search for the check-in record, open it and click on Check-in. Enter the details and authorize the check-out. The check-in record will now not appear under “Active” check-ins but you can access it under “All”
E. Reports
You can access your check-in reports at any time. To access, click on the top right menu, select reports and click on the desired report.
You can filter using date range and also search using name, ID no, mobile phone etc.
If needed, you can receive the report via email.
F. Visualization
You can access various graphical reports under visualization. Simply click on Visualization under reports and select a time range.

Once your business / premises admin adds you to a place, you will be able to invite guests, approve appointments and much more from HodiApp.
To invite guests, tap on “Invite”, select a venue and proceed to enter your guest details.

Once your host has invited you to a place, you can access your appointment once you log in to HodiApp.
When checking in, open the appointment and click on “Start check-in” to submit your details for check-in processing.
Streamline your Visitor Appointments and Check-ins Today
Simplify your visitor management process with HodiApp. From effortless scheduling to swift check-ins, our platform enhances security and efficiency. Experience the future of visitor management and transform your guest experience.


 Get Started With